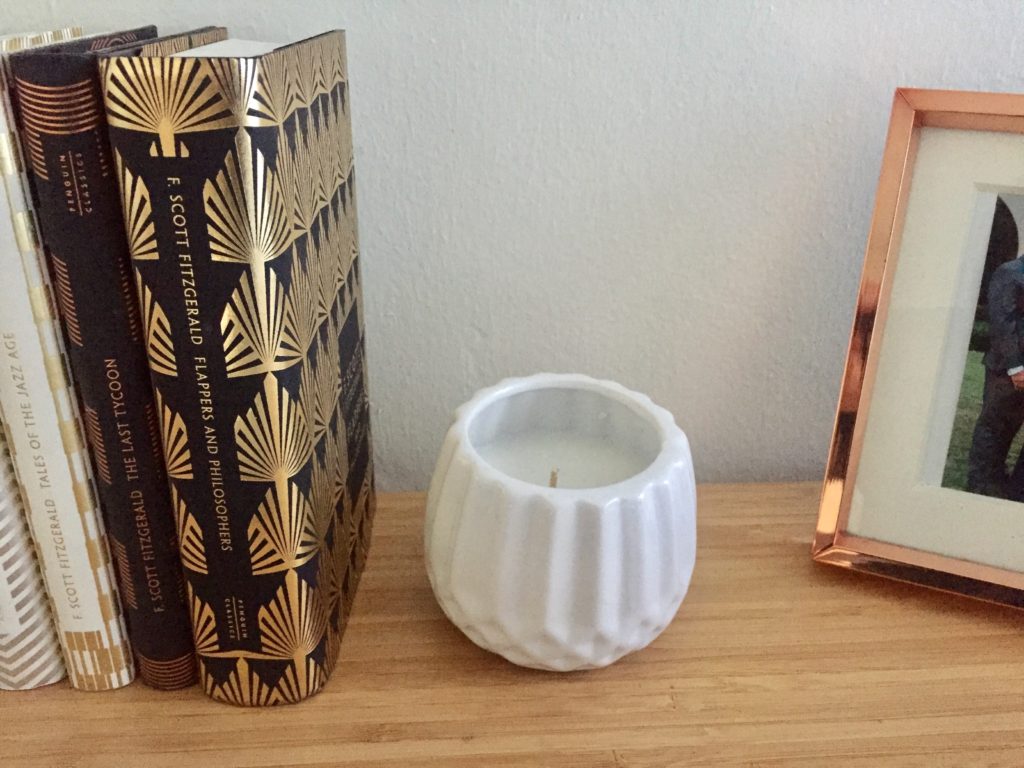
I once walked into my friend’s house and I was engulfed with an amazing scent. Assuming it was an expensive candle, I asked her where she bought it. She replied that she made it herself!
I know what you’re thinking, why make your own candle at home if I can just buy one for less than $10. Your right, candles are usually not expensive, but if you have ever purchased a cheap candle, you know it’s not the same quality as a Bath and Body Works one. Making your own candle allows you to control the scent and potency of it. Candlemakers usually skimp on the fragrance oils used in cheap-inexpensive candles.
Once I started researching on how to make candles at home, I found that tutorials online complicate the process. They require tons of equipment, such as a double boiler, wick sticker, thermometer, pouring pitcher, etc. But I knew there had to be a simpler way.
Here is an easy DIY for homemade candles:
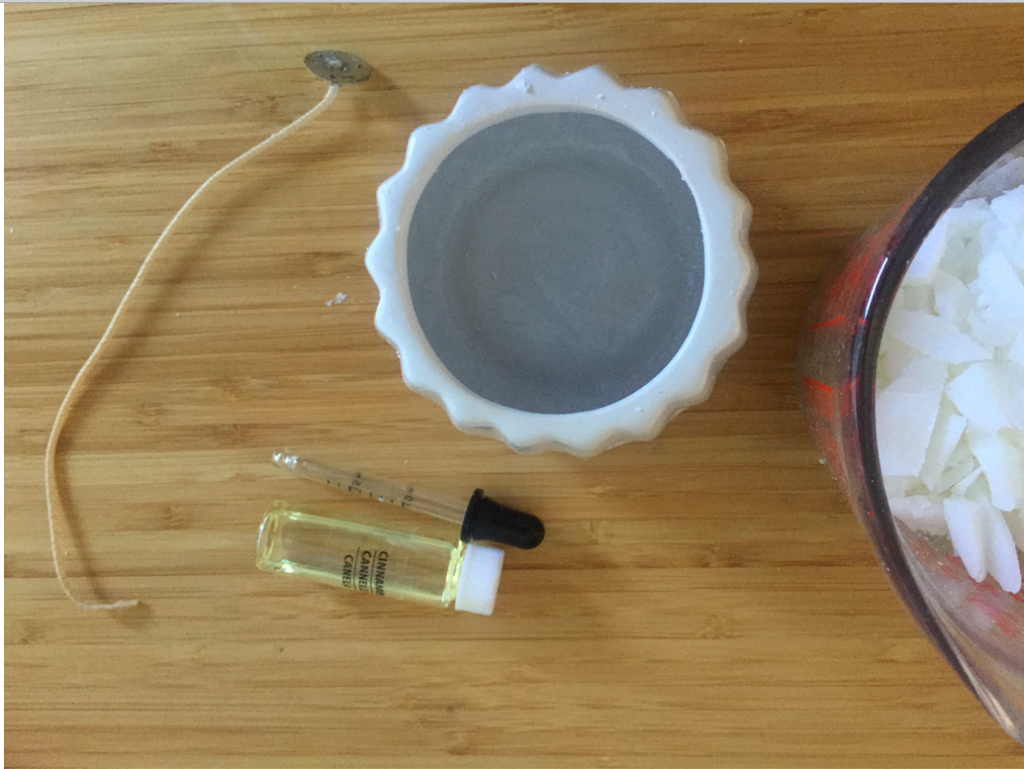
What you’ll need:
- Candle Wax
- Wicks
- Pencil
- Tape
- Wax
- Glass Measuring cup (to only use for candle making)
- Medium Size Pot
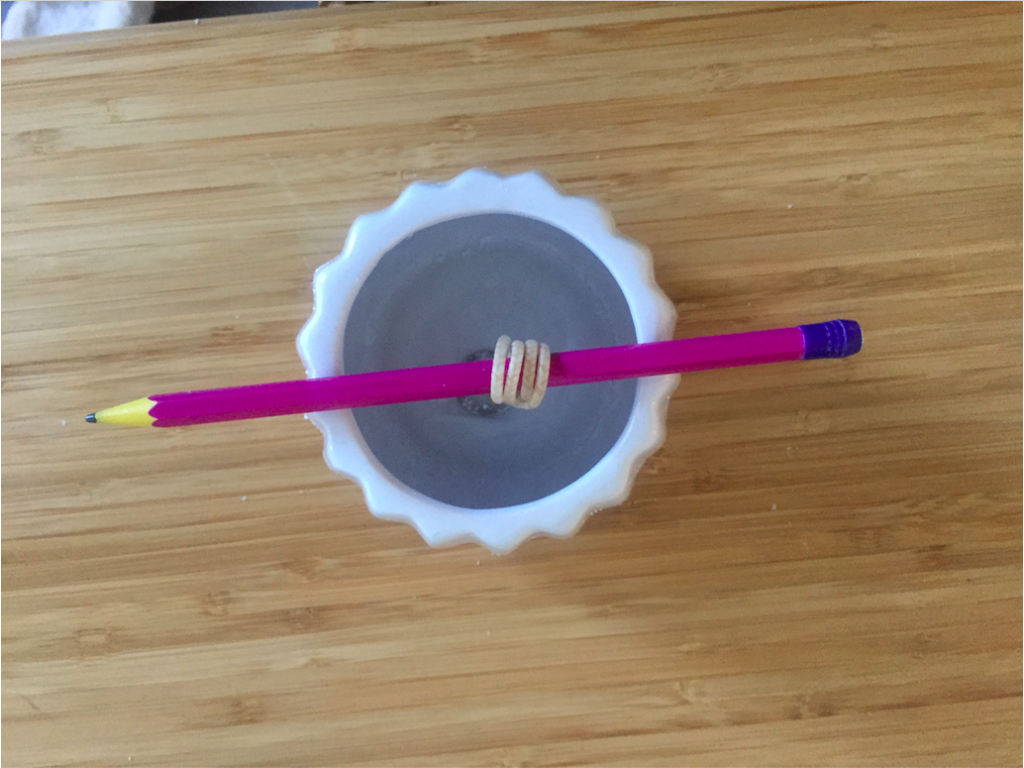
For your candle container, find a container that can withstand heat. I bought mine at the Dollar Store. Grab your wick and put a folded duck tape at the bottom, then place it in the middle of the container base. For the top of the wick, wrap it around a pencil. The pencil will lay on top of the container. These two steps will keep your wick in place when the wax is being poured.
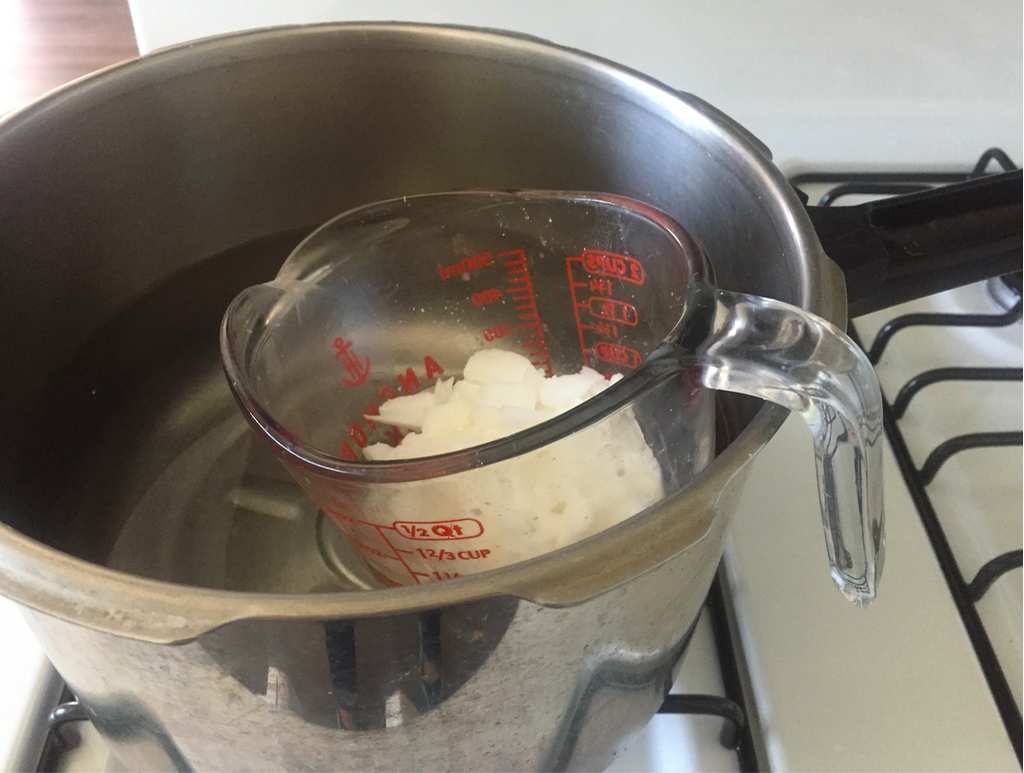
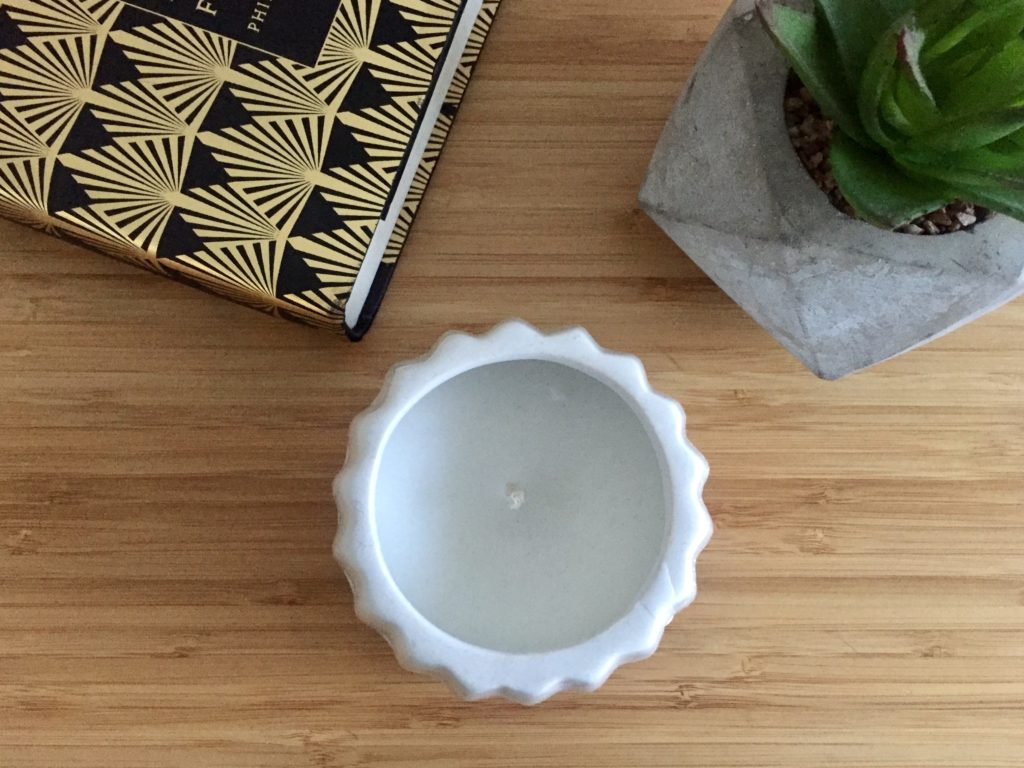
Fill a medium-size pot halfway with water. Then shave a block of wax into a measuring cup. Make sure to have similar shaving, to ensure wax is melted at the same rate. Hang the measuring cup handle from the pot. This creates a make-shift double boiler. Put the pot on the stove and set in medium heat. Let the wax melt and stir once in a while to help the melting process. Once the wax is clear, pour the wax into your container. While the wax is still in liquid form, add the preferred essential oils for scent. Let the wax dry. Once it hardens remove the pencil on top and cut the wick.
